The restoration of the 77 continues, and I will go back and chronicle all of our other efforts as well.
All over the internet there are methods about the differential crossbeam cushion removal. Experiences varied from "no problem" to "it took me a week." Today was my turn.
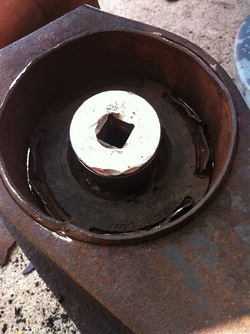
After the tabs were bent back up, and the cushions soaked with PB Blaster, the first one was out after no more than 10 strikes with a 4lb sledge onto a junk socket placed in the cup. The second one, not so much unfortunately.
Soaking, torching, more hammer strikes and nothing. It would not budge. I had to assume that the rust issue that I had discovered in the sombrero had also affected the cushion. So after some headscratching, I rigged this tool up and it worked effortlessly, without the need for a huge press or drilling or anything else super involved.
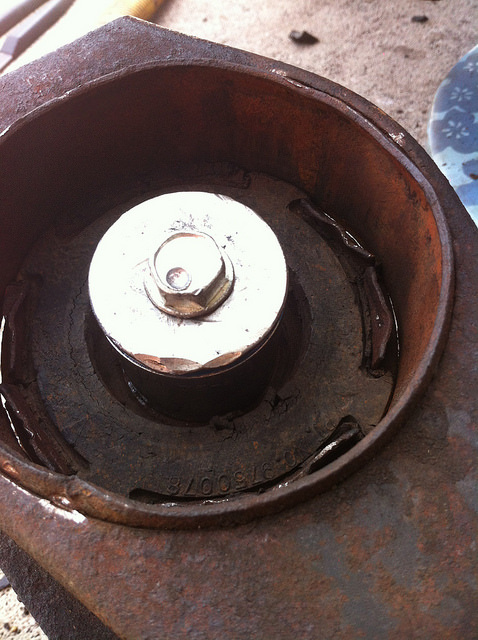
Get a 2 claw gear puller, a junk socket and a bolt with a head large enough stay on top of the socket.
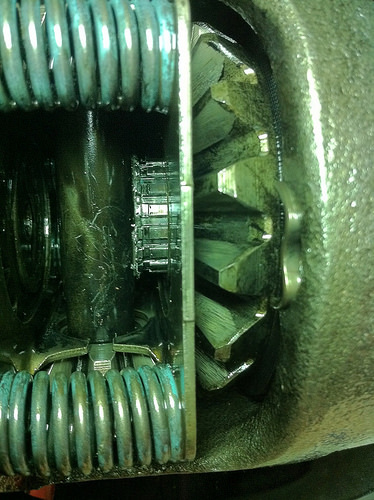
These pictures are after I already had both cushions out, so you'll have to just imagine that the cushion is actually all the way up in the hole of the crossbeam.
All over the internet there are methods about the differential crossbeam cushion removal. Experiences varied from "no problem" to "it took me a week." Today was my turn.
After the tabs were bent back up, and the cushions soaked with PB Blaster, the first one was out after no more than 10 strikes with a 4lb sledge onto a junk socket placed in the cup. The second one, not so much unfortunately.
Soaking, torching, more hammer strikes and nothing. It would not budge. I had to assume that the rust issue that I had discovered in the sombrero had also affected the cushion. So after some headscratching, I rigged this tool up and it worked effortlessly, without the need for a huge press or drilling or anything else super involved.
Get a 2 claw gear puller, a junk socket and a bolt with a head large enough stay on top of the socket.
These pictures are after I already had both cushions out, so you'll have to just imagine that the cushion is actually all the way up in the hole of the crossbeam.

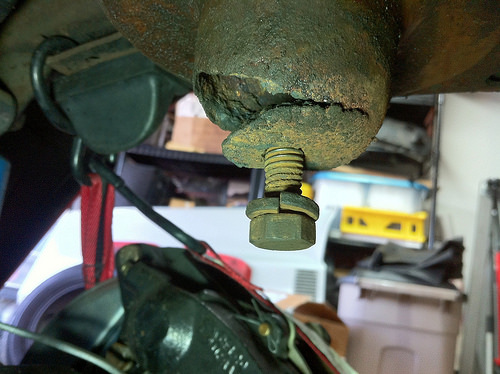
Place socket in cup:
Put bolt in socket (yes, the gear puller screw put that divot in the bolt head):
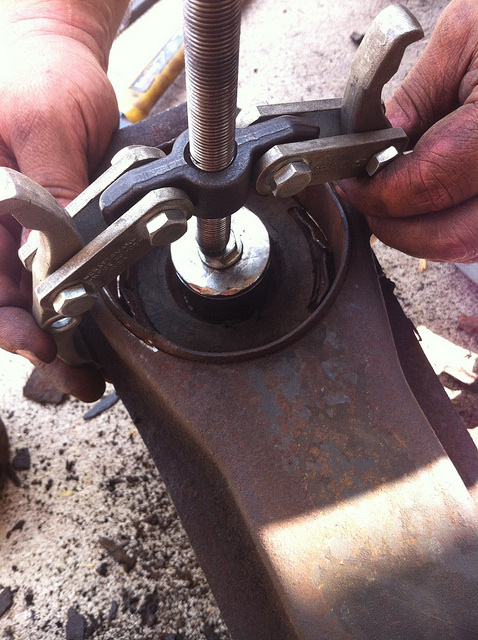
Align the gear puller with the jaws fully gripping the crossbeam:
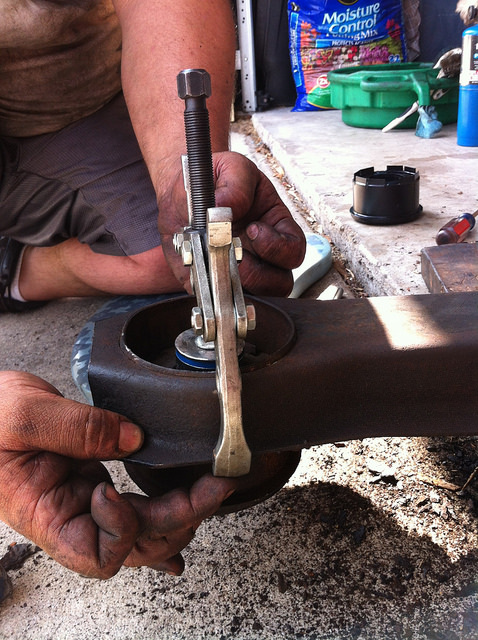
Start turning the puller screw and presto. No sweat, no banging, no fire, no cursing.
Hope this helps. I didn't see this type of solution anywhere online. C3 restoration will test your skills, test your patience and certainly make you a better garage mechanic. Remember, they are simple cars over all, but they are old!
Hope this helps. I didn't see this type of solution anywhere online. C3 restoration will test your skills, test your patience and certainly make you a better garage mechanic. Remember, they are simple cars over all, but they are old!
 RSS Feed
